
You notice the motor of your compact cleaner sounds high-pitched and strained, and it’s barely lifting the crumbs off your seat fabric. Your immediate instinct is to yank out the filter, bang it against your car tire a few times until a cloud of dust flies out, and shove it back in.
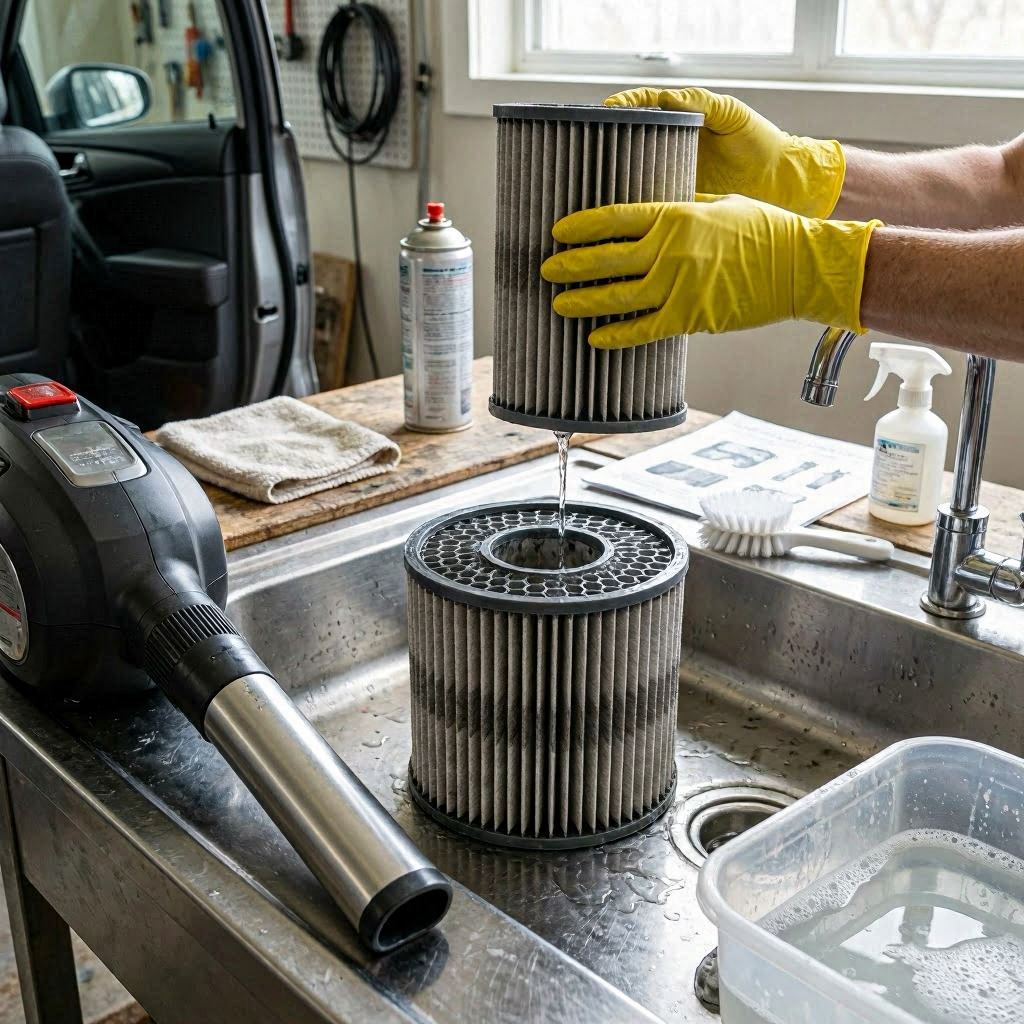
That violent tapping is the quickest way to ruin your hardware.
Modern handheld detailing vacuums rely on high-velocity airflow through ultra-fine synthetic or paper matrices. Cleaning these filters isn’t just about knocking off visible dirt; it is a delicate mechanical reset. If you wash it incorrectly, you warp the microscopic fibers; if you put it back damp, you create a mold incubator that can kill the motor.
To keep your machine pulling maximum Pascals, let’s discard generic household chore tips and analyze the exact technical blueprint for reclaiming the filter integrity of the best portable car vacuum.
1. The Fiber Architecture: What You Are Actually Cleaning
Before applying water or air to a filter, you must understand the mechanical barrier inside the housing.
Incoming Dust Stream ---> [Stage 1: Plastic Mesh] ---> [Stage 2: Pleated Synthetic HEPA Matrix]
                                 |                                      |
                       (Stops Large Pebbles/Hair)             (Traps Micro-Dust & Ash)
                                 |                                      |
                        Fix: Manual Wipe/Rinse                 Fix: Targeted Sonic Flush
Most premium car vacuums utilize a dual-stage filtration system: a primary structural plastic mesh shroud wrapped around a deeply pleated inner core.
- The Mesh Shroud: Handles macro-debris like hair, gravel, and leaf fragments. It creates a physical shield to prevent the delicate inner pleats from collapsing under high suction.
- The Pleated Core: Typically a synthetic composite weave designed to trap particles down to 0.3 microns. Dust doesn’t just sit on top of this surface; it wedges itself deep inside the V-shaped valleys of the pleats, forming a dense, compressed cake that chokes the motor’s breathing loop.
2. Modern Detailing Contaminants & Cleaning Bottlenecks
Car interiors harbor a highly specific, destructive mix of grime that standard living-room dusters never encounter. These materials present unique challenges during the cleaning process:
The Electrostatic Ash & Brake Dust Lock
If you smoke inside your car or leave windows cracked near heavy traffic, the vacuum pulls in micro-carbon ash and magnetic brake dust. These particles carry a native electrostatic charge that bonds them tightly to synthetic filter fibers. Standard rinsing with plain water won’t break this electrical bond; the dust remains firmly glued to the pores.
Petroleum-Based Dashboard Dressing Gunk
When you spray silicone gloss or conditioning oils onto your dashboard and door panels, a fine mist settles onto the nearby surfaces. When you vacuum these areas later, those oils are pulled into the filter medium. The oil coats the fiberglass fibers, turning the filter paper into a sticky flypaper trap that catches fine dust and creates a thick, waterproof sludge that blocks airflow completely.
Micro-Fractures from High-Pressure Blowouts
A very common detailing mistake is taking a clogged filter to a gas station air compressor line and blasting it with 90 PSI of compressed air. While it looks clean instantly, that brutal velocity creates microscopic tears and fractures through the delicate pleats. The filter is permanently ruined—it will now let fine dust pass straight into the motor bearings, causing mechanical seizure down the road.
3. The Step-by-Step Technical Restoration Protocol
To safely extract packed debris without compromising the physical density of the filtration system, execute this exact maintenance sequence:
| Phase | Technical Execution | Scientific Purpose |
| Phase 1: The Dry Vibrational Tap | Hold the filter assembly inside a trash bin and tap the rigid plastic rim only against your palm. | Uses kinetic vibration to dislodge the heavy, encrusted dust cake without warping the delicate paper pleats. |
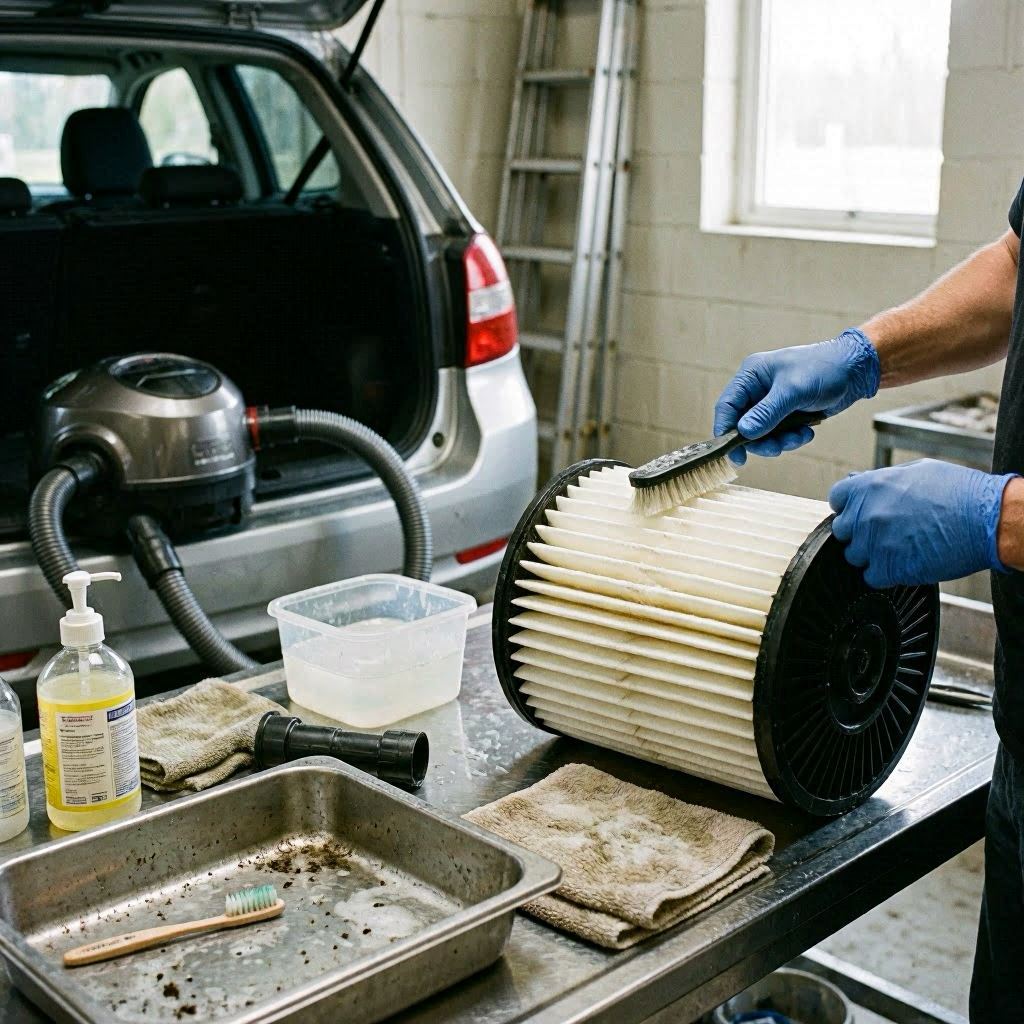
| Phase 2: The Submersion Soak | Submerge the filter in a bowl of lukewarm water mixed with two drops of neutral dish soap. Let sit for 10 minutes. | The surfactants in the soap break down the oily dashboard dressing films and neutralize electrostatic ash bonds. |
| Phase 3: The Internal Fluid Flush | Run low-pressure tap water from the clean side (inside out) of the filter cone. Never pour water onto the dirty side. | Forces the trapped particles to back-track out of the fiberglass maze instead of wedging them deeper into the pores. |
| Phase 4: The 24-Hour Solar Cure | Place the wet filter outdoors in direct sunlight on a dry towel for a full day. | Eradicates residual mold spores via UV exposure and ensures zero dampness remains to threaten the motor logic board. |
4. Systemic Objections & Crucial Corrections
Objection 1: “My filter looks perfectly white and clean after I brush it out with an old toothbrush. Why do I need to go through a full washing cycle?”
Answer: Visual whiteness is a deceptive metric. A dry brush can easily clear the large dust accumulation on the surface ridges of the pleats, but it cannot reach the microscopic particulate blockages embedded deep inside the inner weave. Over time, these invisible blockages act as a silent restriction point, forcing your motor to pull more current and drop battery runtime significantly. A liquid surfactant soak is required to flush out the micro-pores.
Objection 2: “Can I use a hair dryer on high heat to dry the filter quickly so I can finish cleaning my car mats right away?”
Answer: Absolutely not. The intense, concentrated heat from a commercial hair dryer can melt or warp the synthetic polymer fibers used in modern car vacuum filters. It can also dry out and crack the critical rubber sealing gasket that lines the outer rim. Once that rubber gasket warps, air will bypass the filter entirely, shooting abrasive dirt straight into your high-RPM motor fan blades.
Objection 3: “If the filter is so cheap and difficult to clean properly, shouldn’t I just throw it away and buy a new one every month?”
Answer: While replacement is eventually necessary, discarding a filter prematurely is an inefficient waste of resources. A premium synthetic composite filter is engineered to withstand 10 to 15 proper wash cycles before the structural fibers lose their tension. Cleaning the filter correctly preserves the optimal airflow dynamics of your unit without the constant need to track down specific aftermarket model dimensions.
5. Maintenance Habits for Extended Suction Life
To ensure your machine remains highly efficient and ready to tackle stubborn sand and pet dander at a moment’s notice, adopt these professional operating rules:
- The Two-Filter Rotation System: The absolute best way to manage a cordless car vacuum is to purchase a secondary backup filter. This allows you to wash a dirty filter thoroughly and let it cure naturally for 24 hours without rendering your vacuum useless if you need to perform an emergency clean-up in your car cabin.
- Keep the Dust Bin Below the 50% Threshold: Do not wait until the clear plastic debris collector is filled to the brim before emptying it. When the cup passes half-capacity, the internal air cycling system loses its vortex dynamics, forcing all remaining incoming dirt to slam directly into the HEPA face. Emptying the cup early keeps the filter clean longer.
- Dry Sweep the Filter After Every Use: Make it a habit to perform a quick 10-second dry tap of the filter assembly every single time you finish a car cleaning session. Removing the loose dust layer before it settles and absorbs the ambient humidity of your vehicle cabin prevents it from hardening into an impenetrable crust.
Maintaining the peak efficiency of the best portable car vacuum is entirely dependent on how you treat its airflow gateway. A choked filter creates an expensive chain reaction: it strains the motor, drains the battery cells prematurely, and kills suction completely. By treating the filter element as a delicate calibration piece—using gentle flushes, breaking down oily residues safely, and allowing complete thermal drying—you can protect your hardware investment and keep your car interior pristine.